#ad We received the Ridgid 18V Compact Drill and Impact Driver Combo that we used to complete this DIY room divider project. All thoughts and opinions are my own.
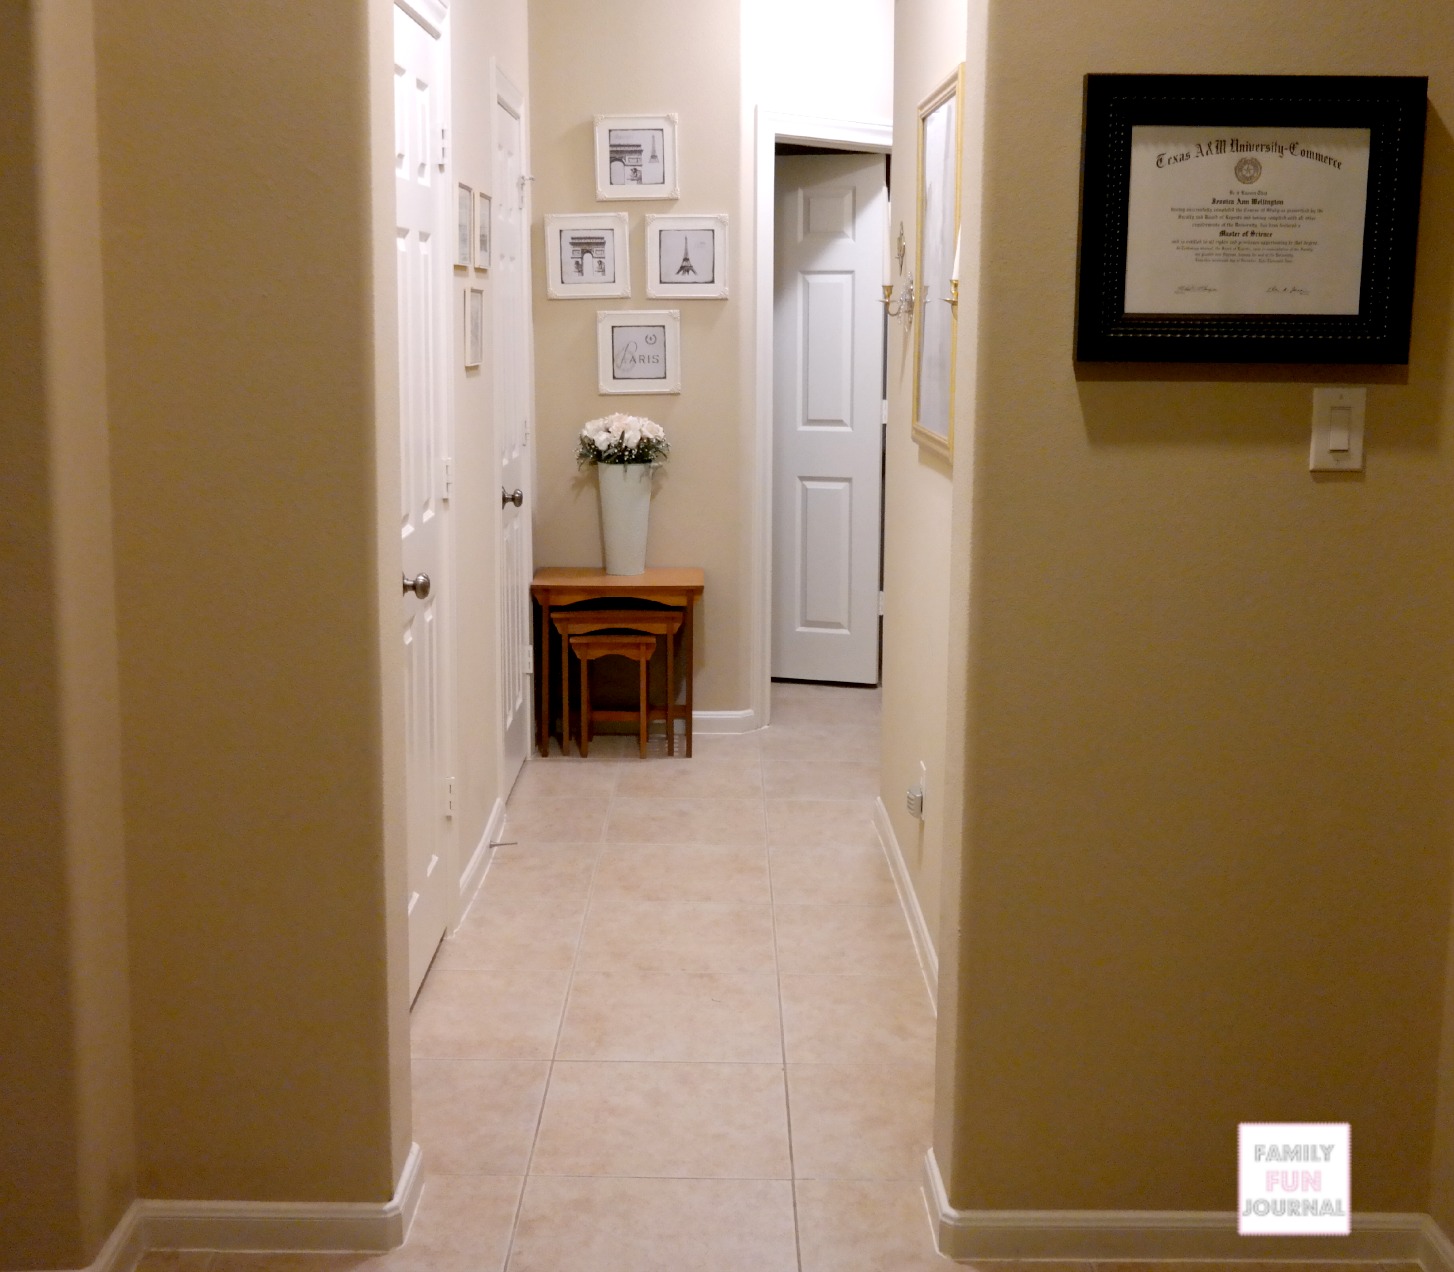
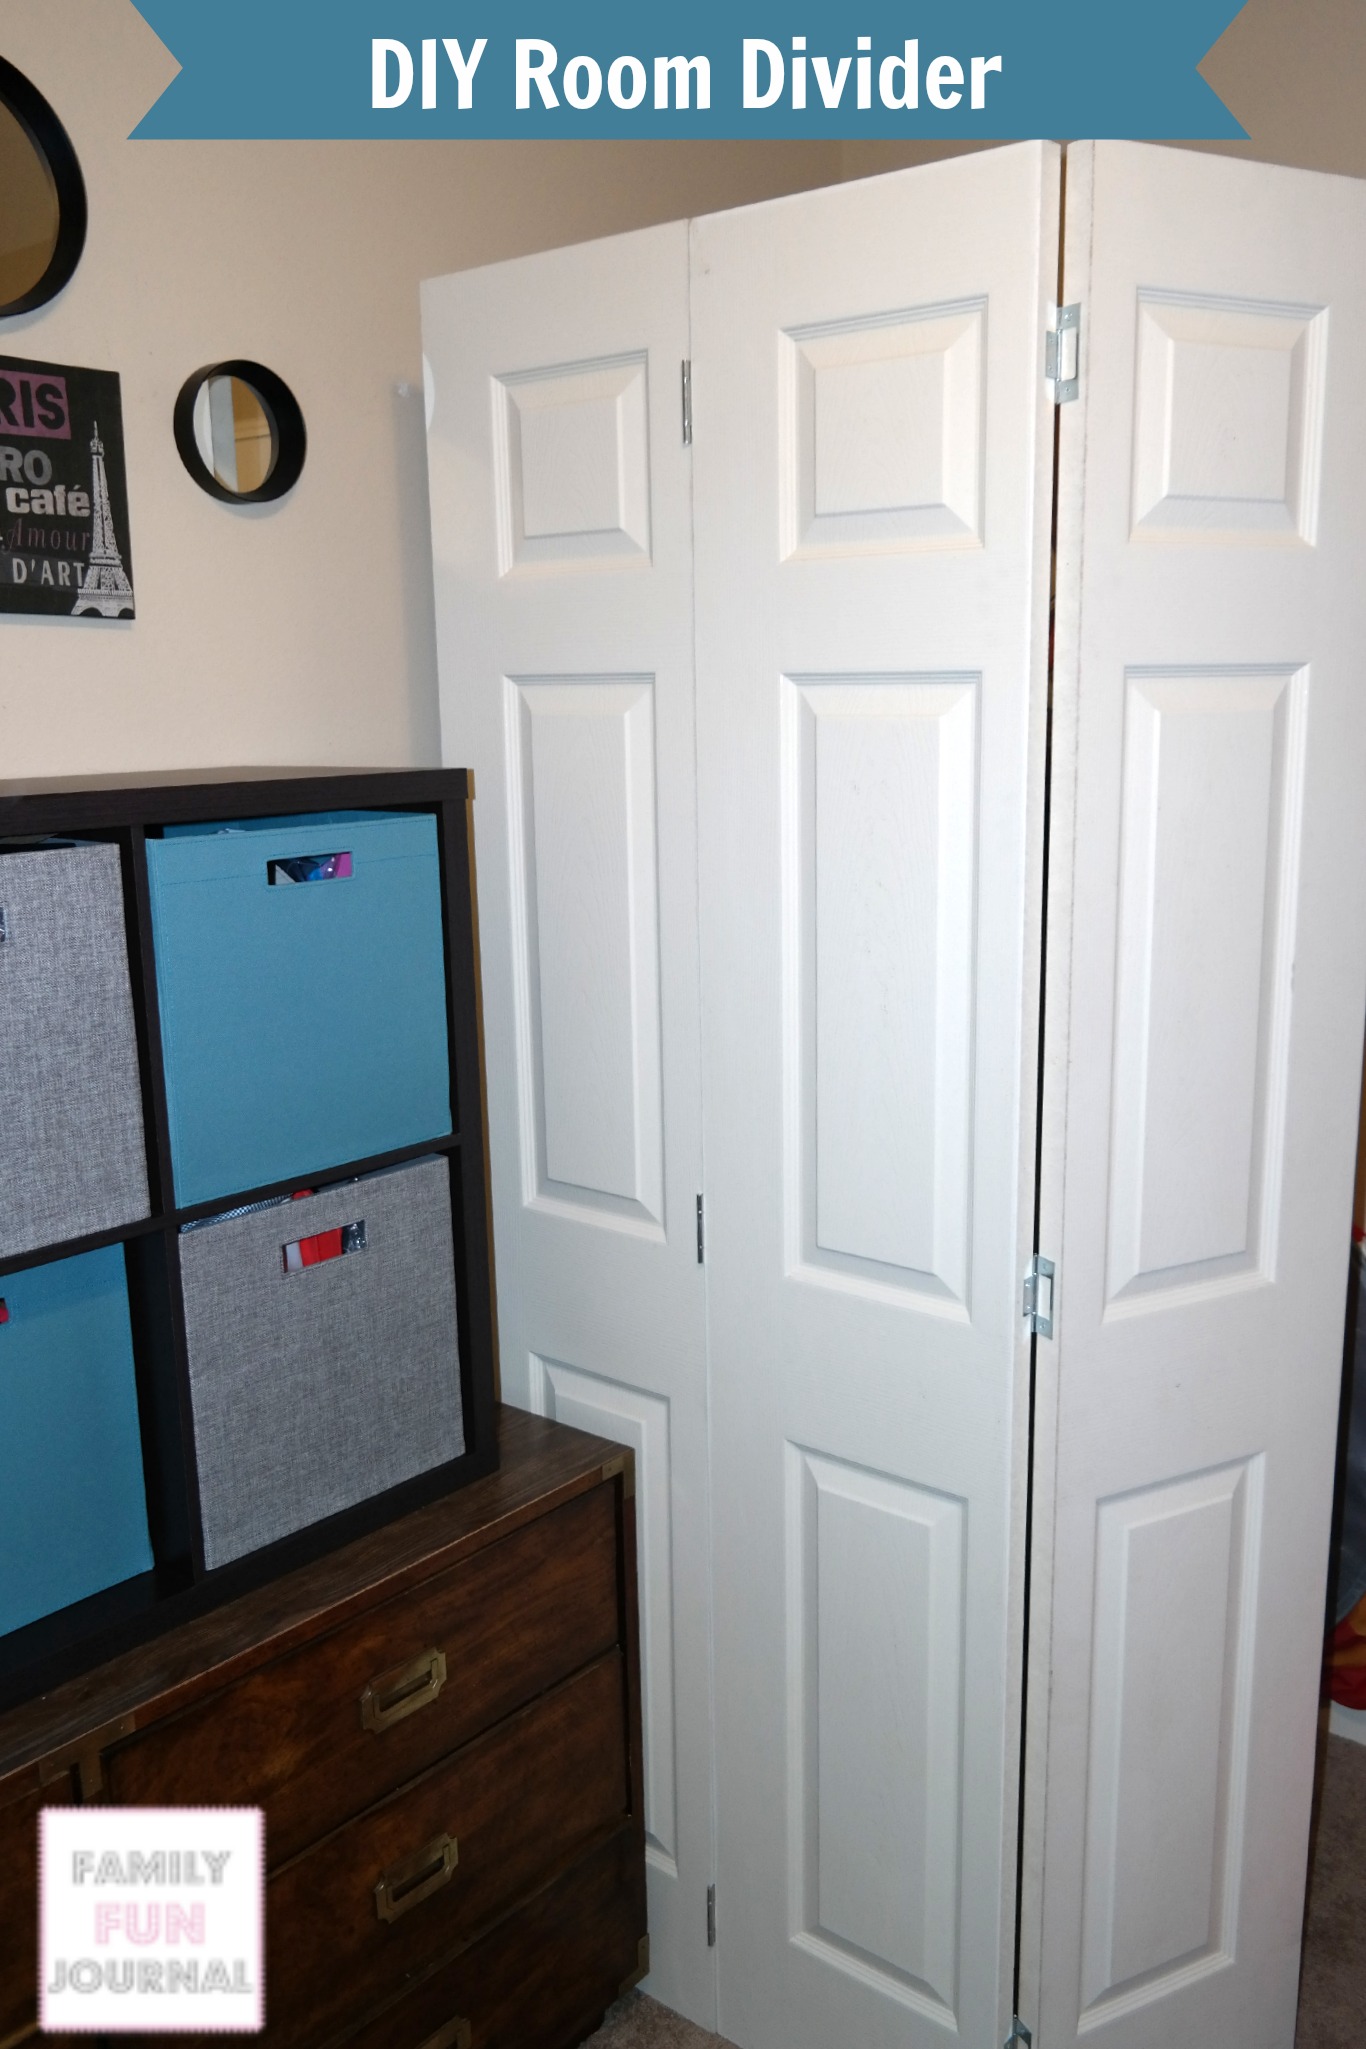
It is so easy to make a DIY room divider. In my house, we wanted a room divider for two purposes. First, we wanted to be able to close off an open hallway.
Second, we wanted to create something that could hide exercise equipment. This treadmill isn’t exactly the best looking thing in my home office.
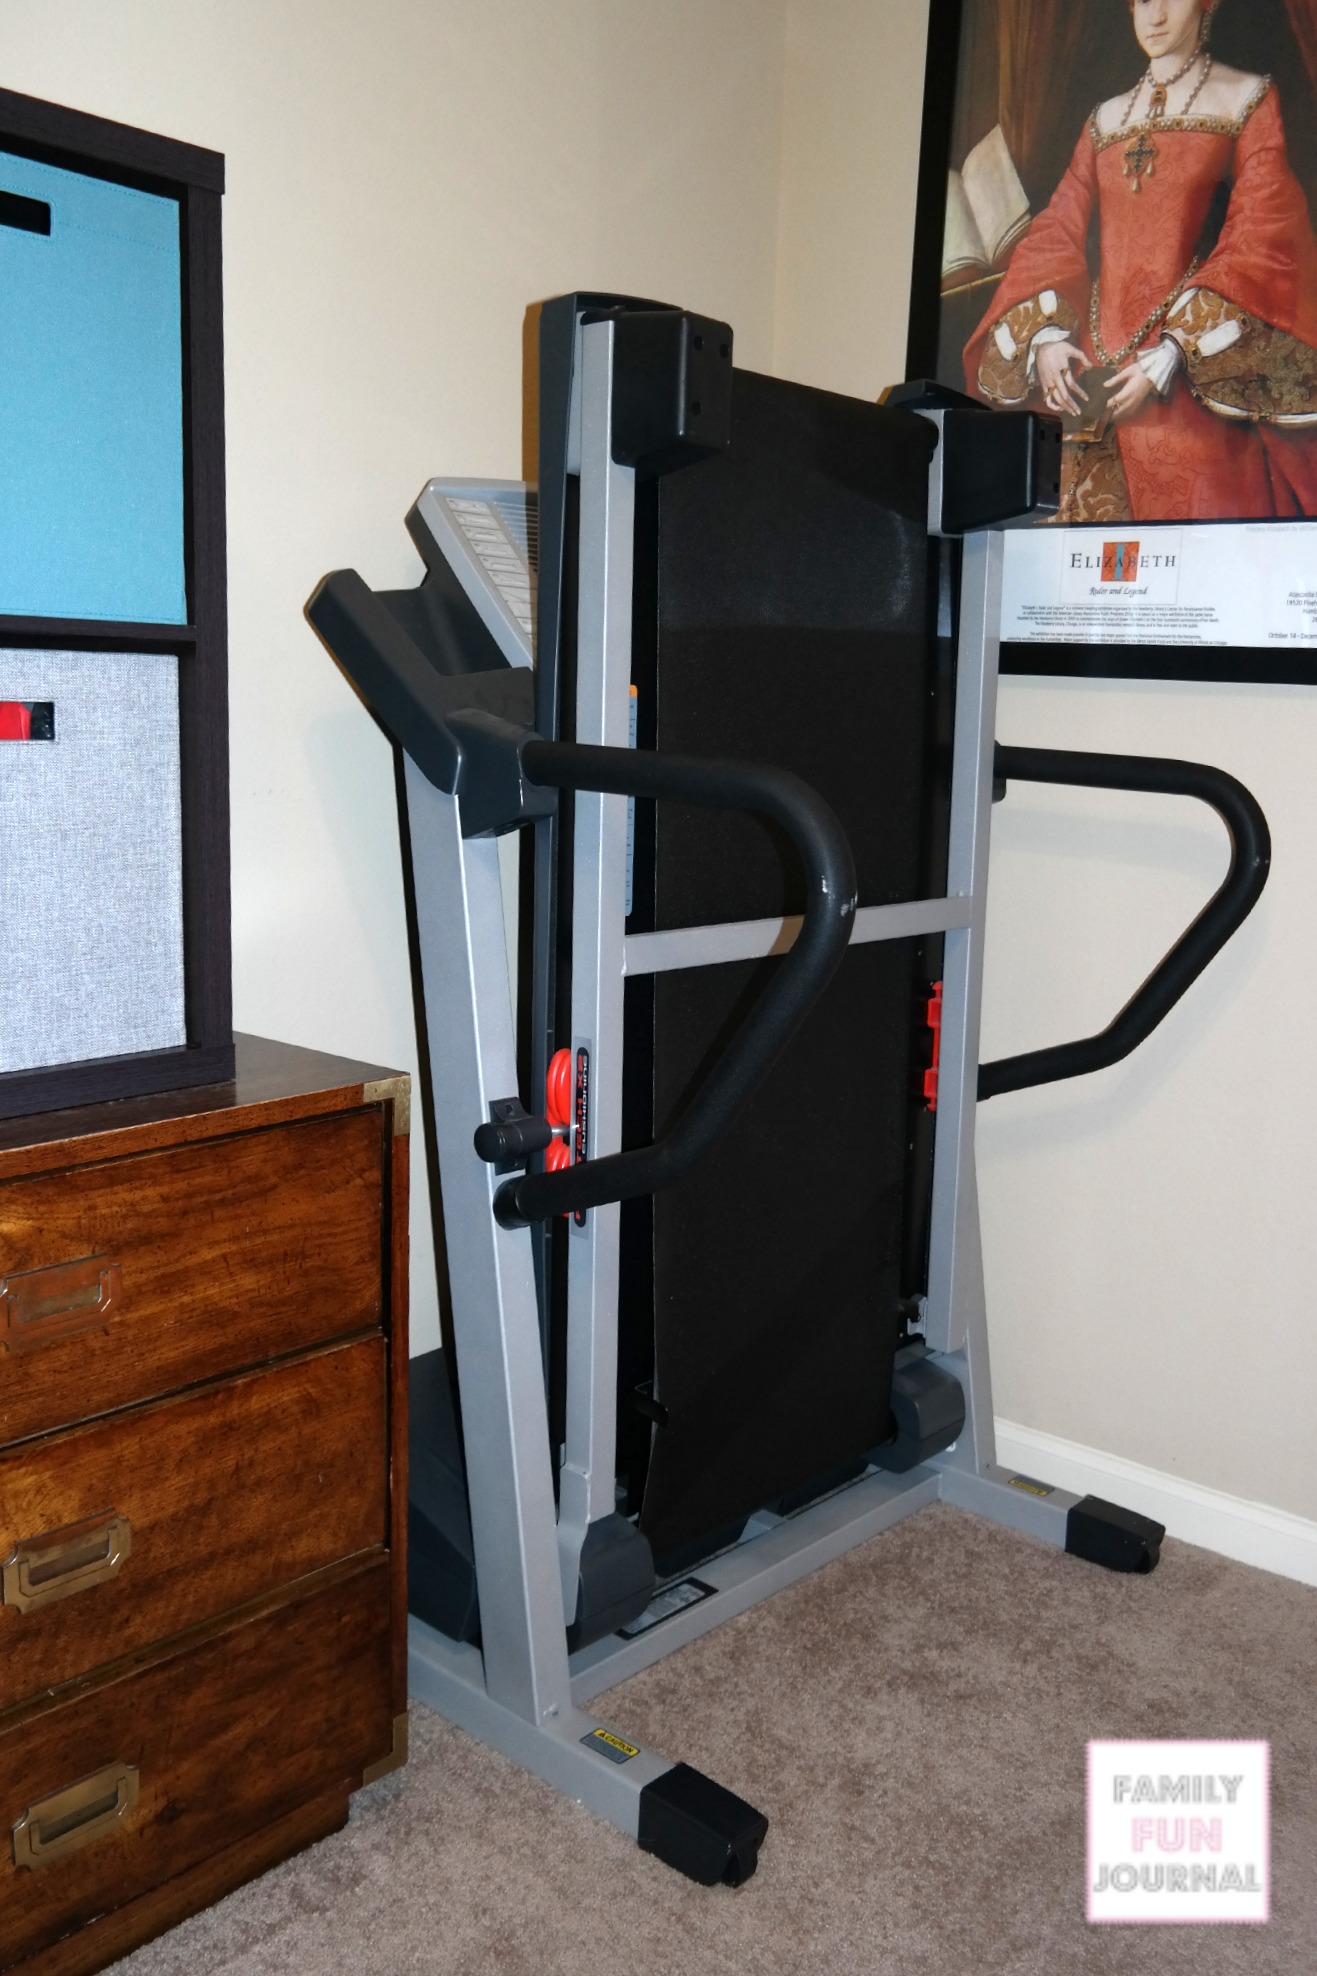
We wanted to create a mobile room divider that could be used for both purposes. This project was so easy to complete in about an hour.
We used the fantastic Ridgid Compact Drill and Impact Driver to create the DIY divider wall.
Ridgid 18V Compact Drill and Impact Driver Combo Review
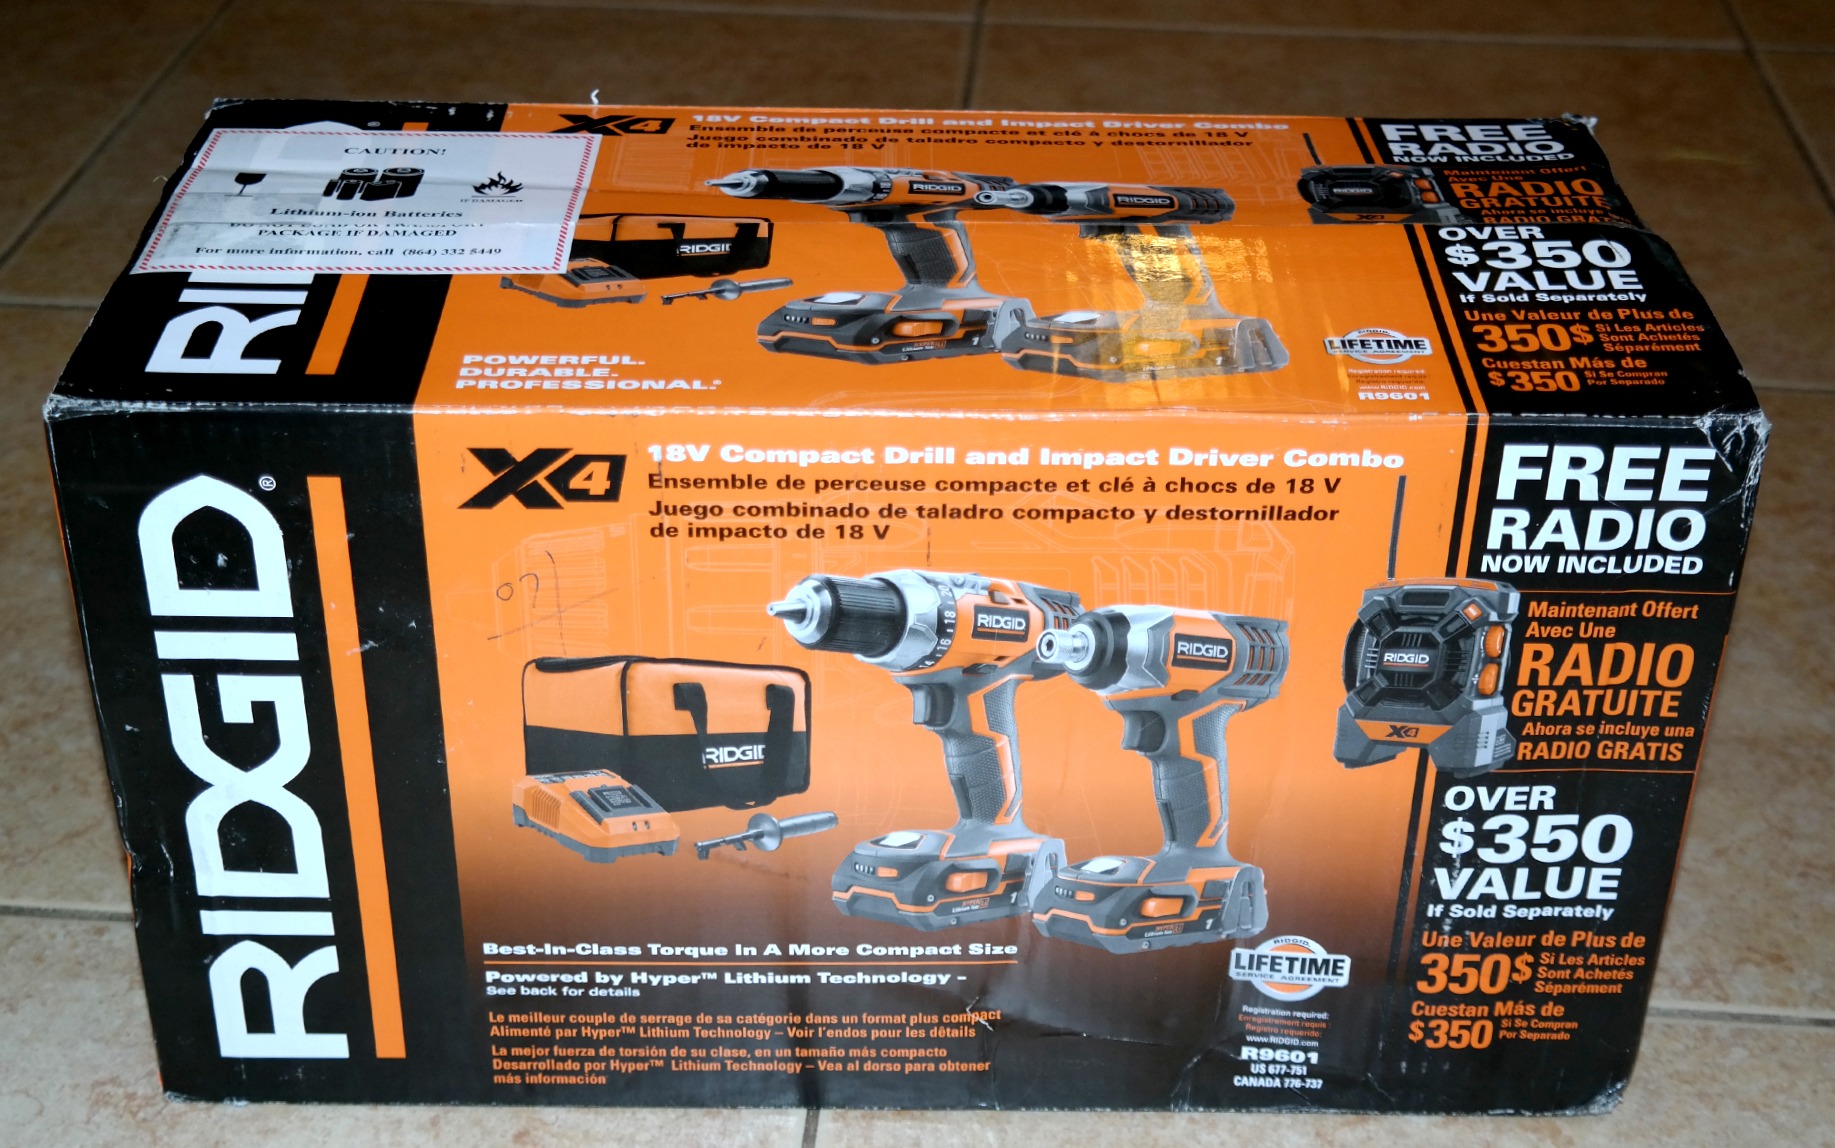
Let’s talk about the this combo kit from Ridgid. These tools are really nice. The Ridgid 18V Compact Drill and Impact Driver Combo is a great value.
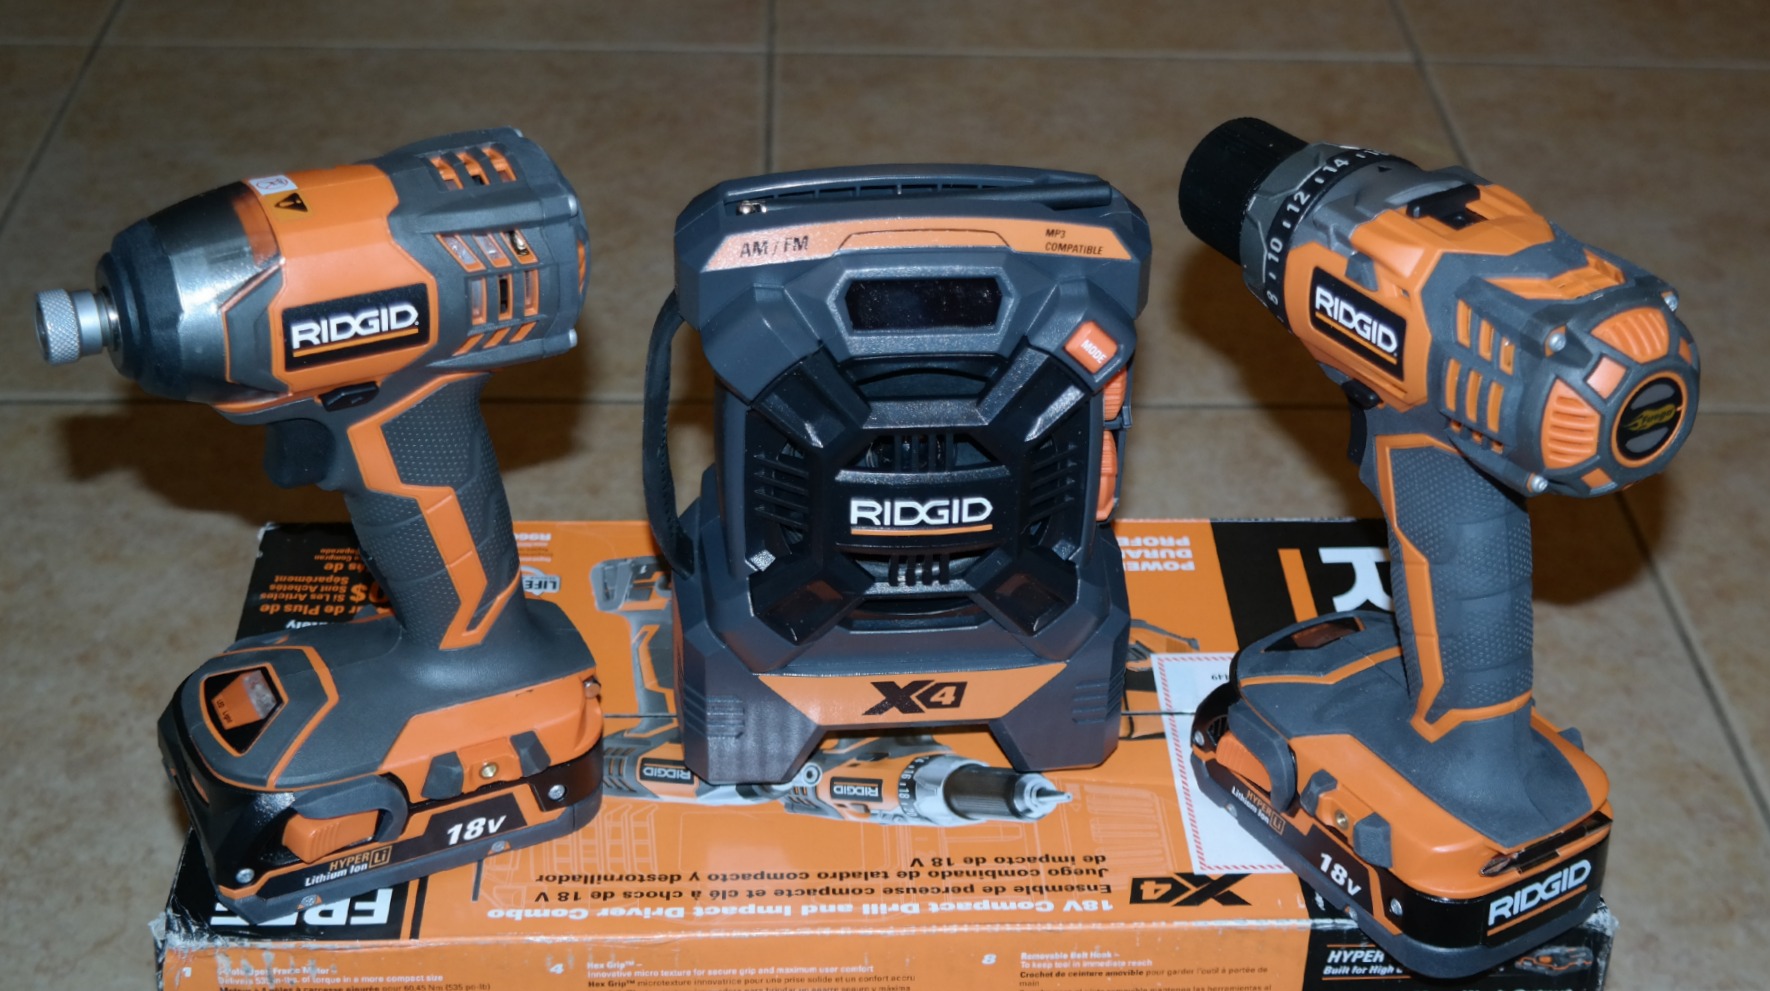
I like that this kit comes with a convenient carrying case.
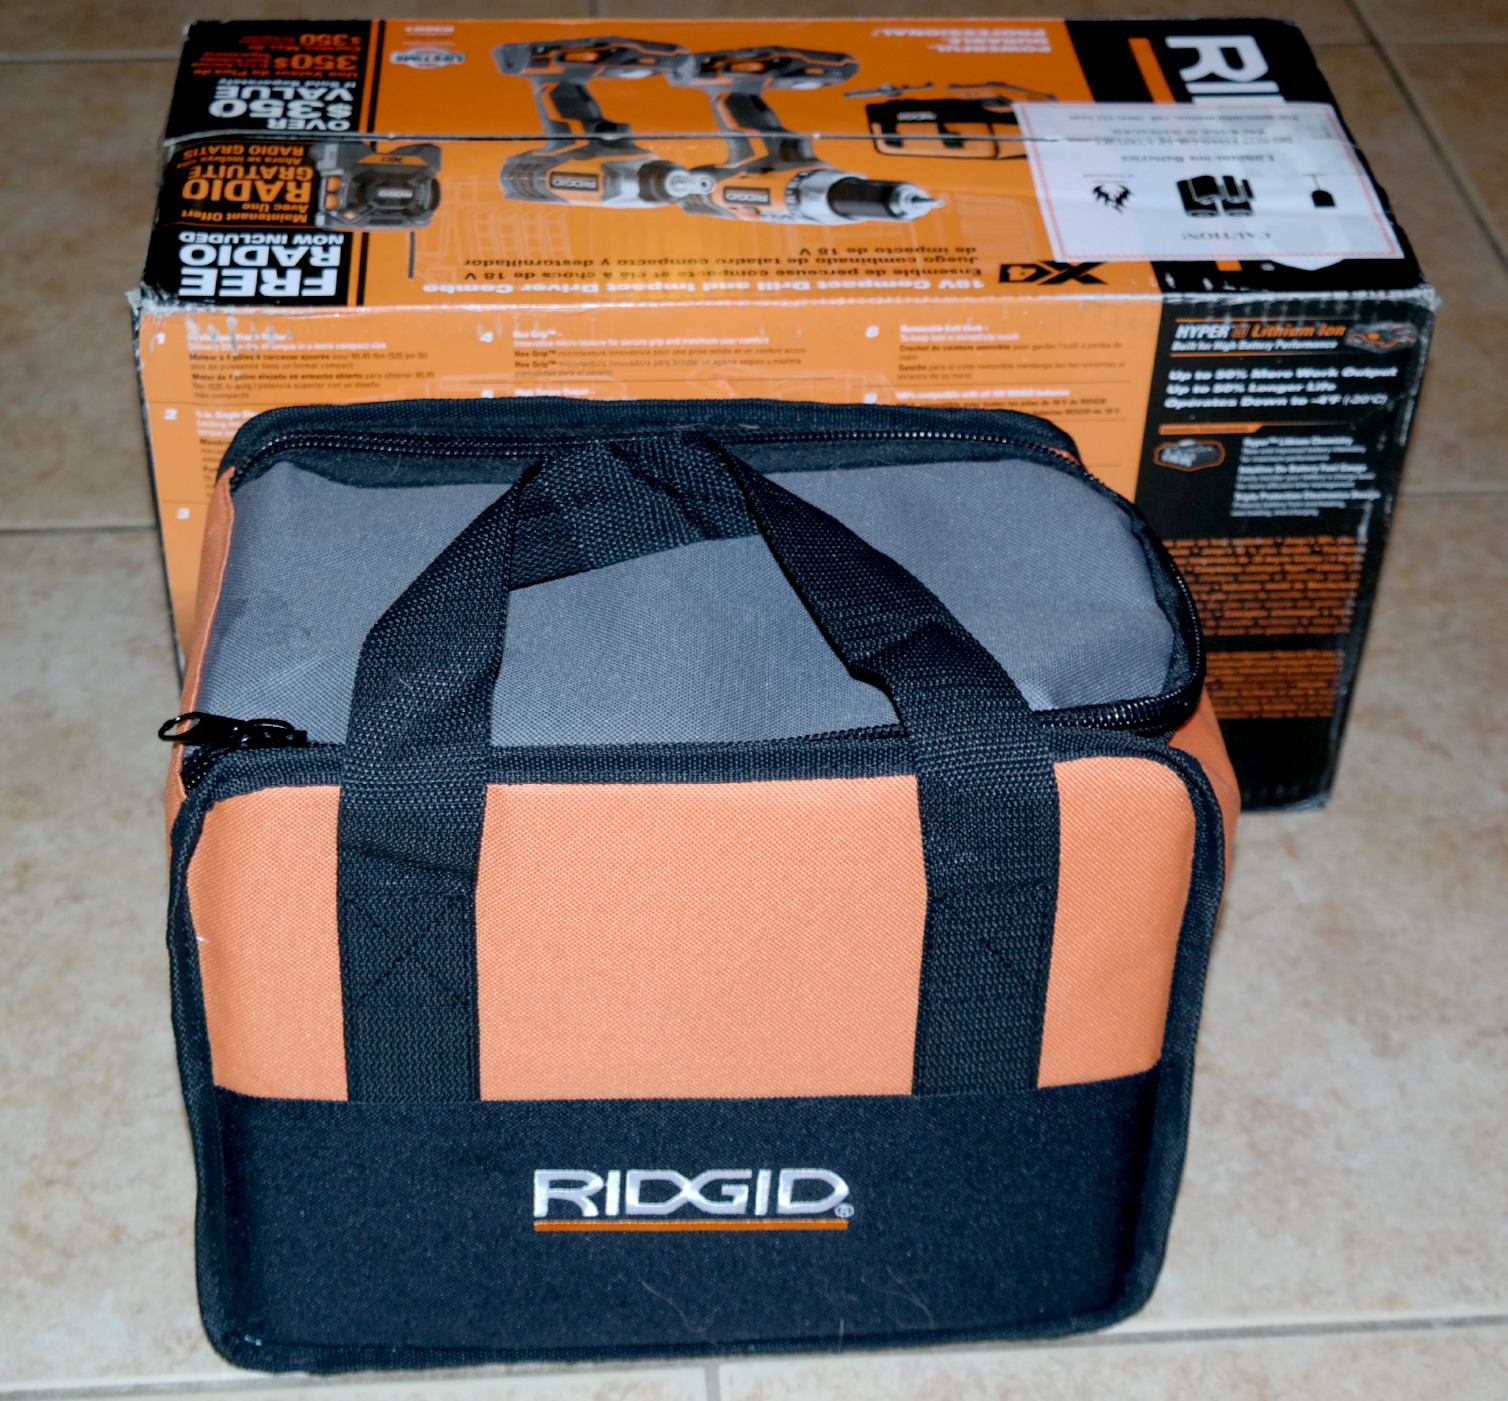
I also like that they are powerful, while maintaining a small size. I also think the addition of the LED light is a smart move. It really helps make completing projects much easier.
The bonus radio is great because you can hook it up to your mp3 player. We really loved this feature because we like to listen to music when working on DIY projects.
DIY Room Divider Project
Tools & Supplies:
- Ridgid 18V Compact Drill
- Ridgid Impact Driver
- 2 sets of bifold closet doors
- Paint
- 3/32 drill bit
- Phillips head screwdriver bit
- Pencil
- Shims
Instructions:
Step 1: Unwrap your bifold doors.
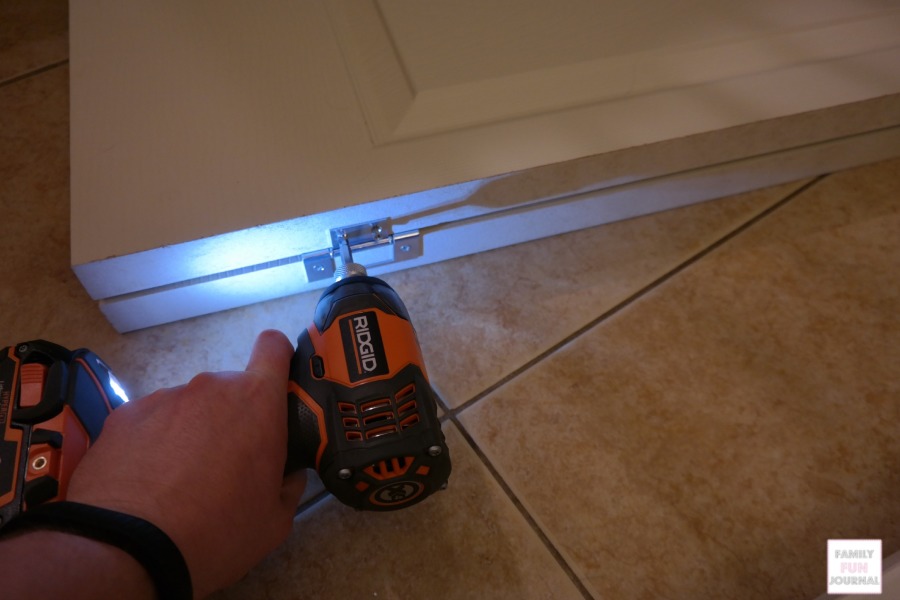
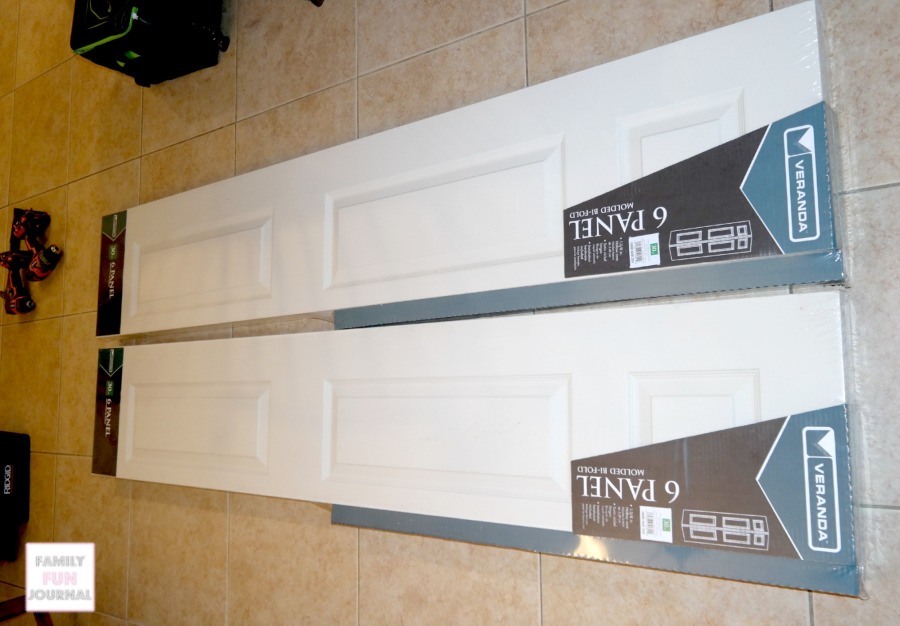 Step 2: Use the phillips head screw driver bit with the impact driver to separate one set of bifold doors. Only remove the screws in the small inset square part of the hinge (as pictured below). Put the six screws to the side for now.
 Step 3: Take the single door with the hinges still attached and align it with the bifold doors that are still a complete set. Align the hinges on the single door to the side of the set that doesnt have hinges.
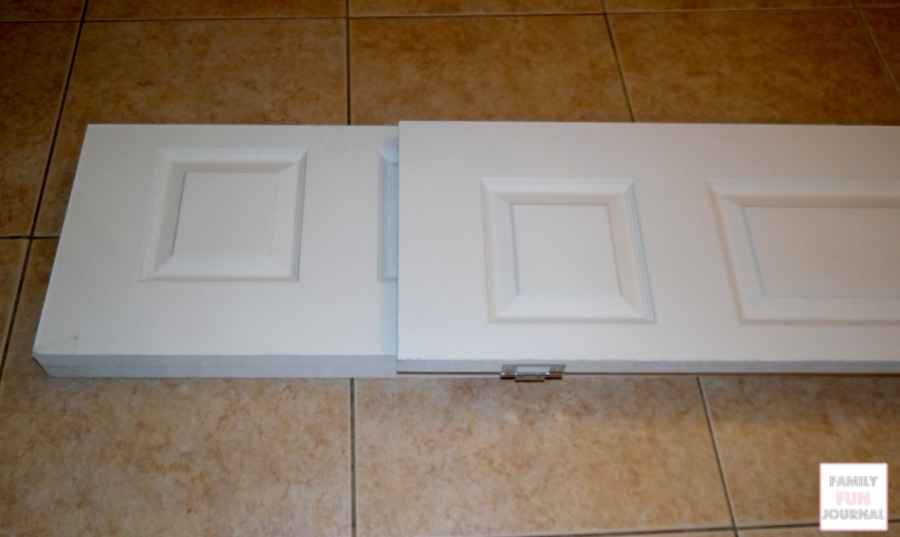
Step 4: Insert shims between the new door and existing pair to complete the alignment. The pin part of the hinge should sit between the two sections. (We inserted shims between the new door and existing pair to align them properly.)
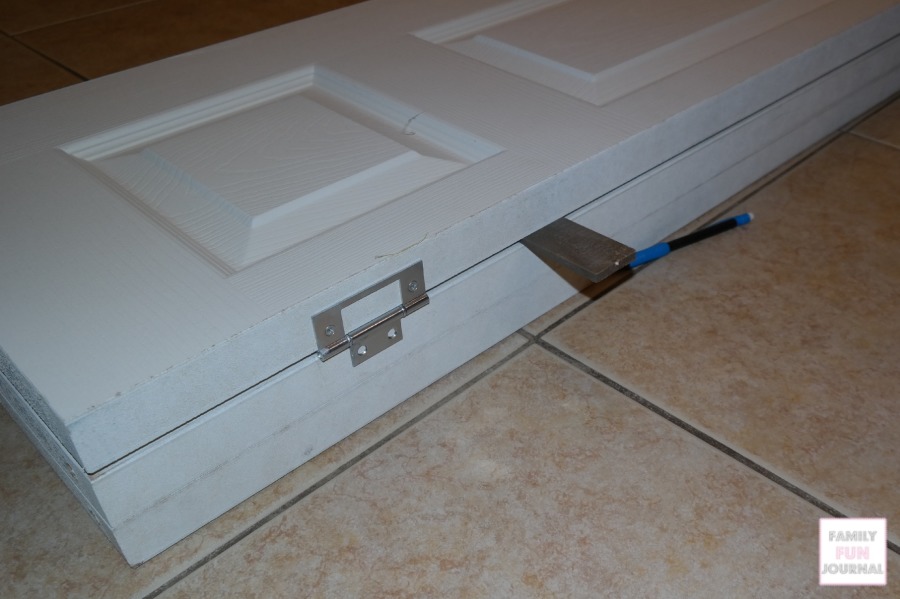
Step 5: Insert the 3/32 inch drill bit into the compact drill to make the pilot holes for the hinge screws. Repeat for all three hinges.
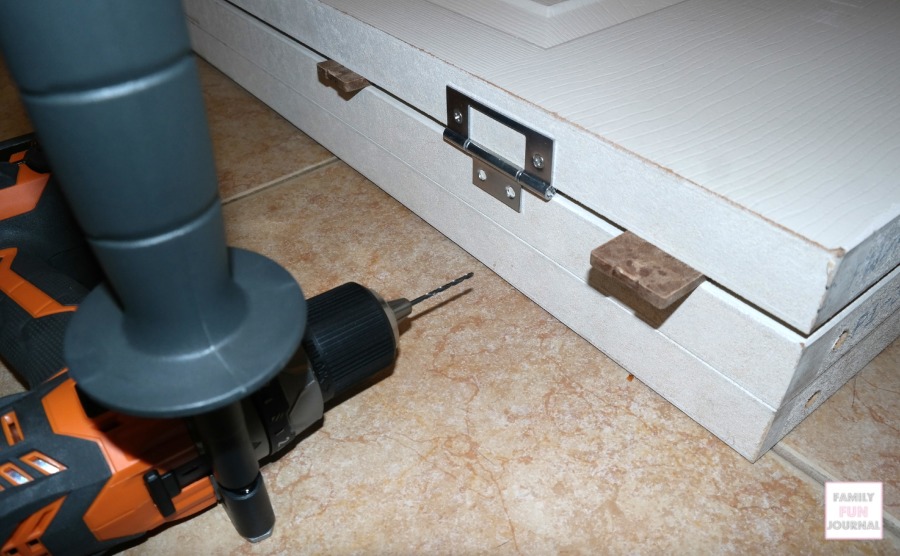
Step 6: Once all six holes are drilled, switch back to the impact driver to secure the three hinges with the six screws removed during the second step.
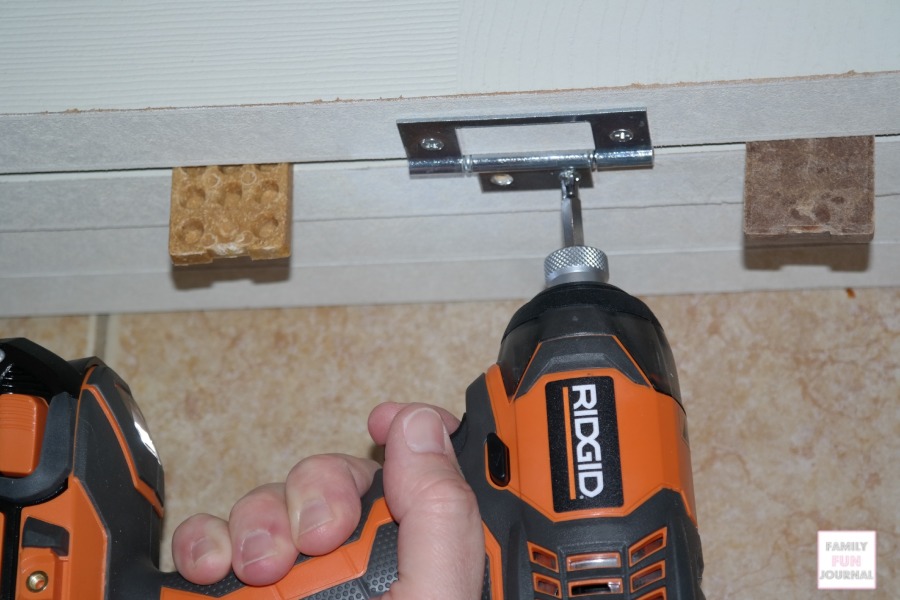
Step 7: Paint the doors with your chosen colors.
This project was really easy to complete. We are happy with the results. The room divider works great as a way to close off the hallway.
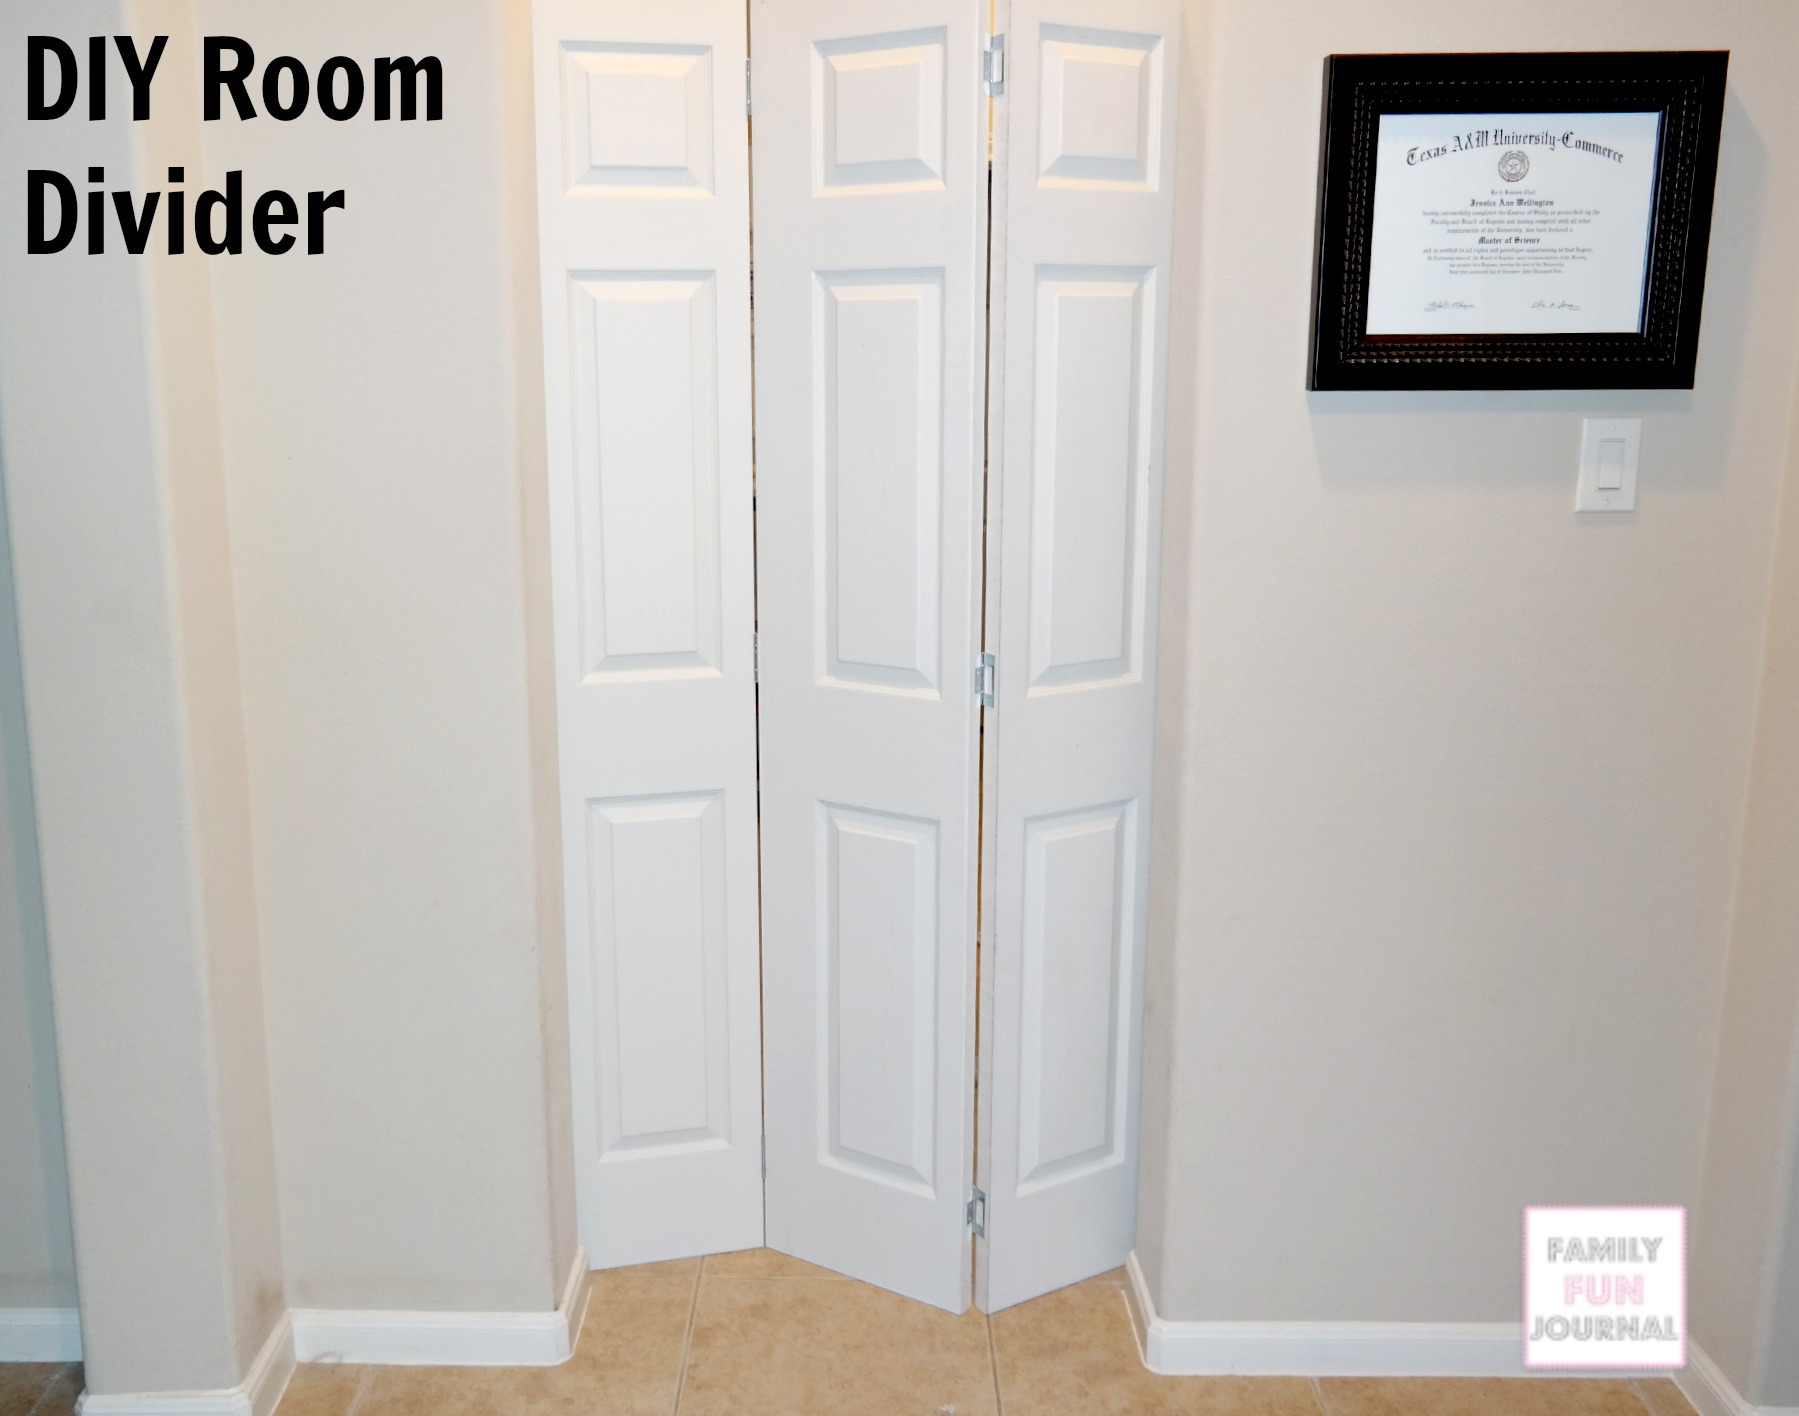
It also makes my home office look so much better. I love that I can hide the treadmill from view. As you can see, the room looks much better with the room divider covering the exercise equipment.
I hope you are inspired to create a DIY room divider. We had so much fun using the Ridgid tools to complete this easy DIY project.

[…] Source: familyfunjournal.com […]