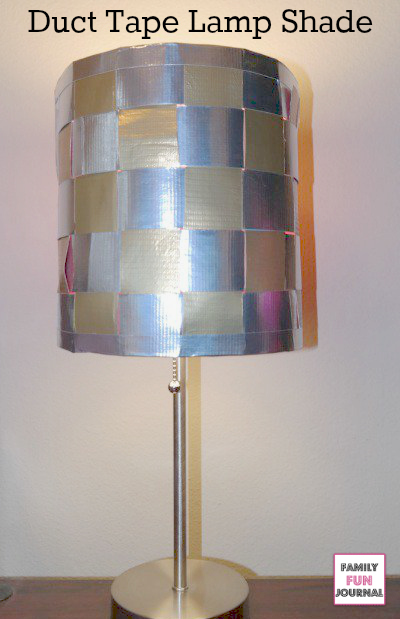
This DIY duct tape DIY lamp shade is an inexpensive way to update your favorite light.

If you read this site, you know that I LOVE to do DIY projects with duct tape. Not only is duct tape super inexpensive, it gives an instant transformation.
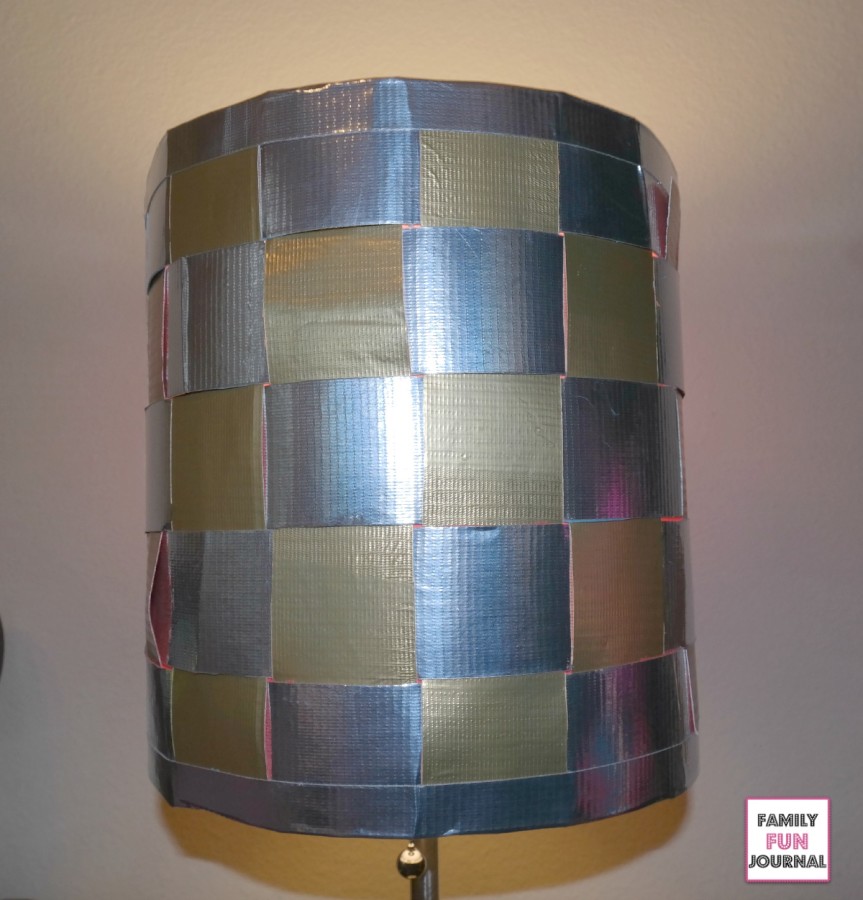
I created this woven lampshade out of gold and silver duct tape. To create a custom look, you can pick a duct tape color or pattern to match your room.
This project is awesome because you can easily remove the duct tape cover and reuse the lamp shade underneath.
Here is a close up of the shade:

Duct Tape DIY Lamp Shade Instructions
- Cut the silver duct tape into long strips based on the horizontal dimensions (circumference) of your lampshade.
- Attach the sticky side of the silver strips to the sticky side of another piece of duct tape. You can use any color for the back because it wont be visible.
- Cut the gold duct tape into strips based on the vertical height of your lampshade.
- Attach the sticky side of the gold strips to the sticky side of another piece of duct tape.
- Lay the strips out and weave them through one another. It will be like weaving a placemat.
- Take a piece of silver duct tape and fold it in half over each side of the woven mat, securing it to the back of the mat. When you are finished, you should have what looks like a woven place mat.
- Wrap the woven mat around your lampshade. Use a piece of silver duct tape to secure the seams.
This project is so much fun. I love that you can change the look of a lamp with duct tape. This inexpensive project is the perfect way to update a room without spending a ton of money.
I hope you enjoy this duct tape DIY lamp shade project!

Duct tape is awesome for so many different things. My daughter has even made purses out of it. 🙂 Please come share your blog posts over at the Home Matters Linky Party! We’d love to have you for a visit. The Door is OPEN. http://lifewithlorelai.com/2015/03/05/home-matters-linky-party-27/ 🙂
~Lorelai
Life With Lorelai